It was time for some new furniture! When we moved into our new house in the beginning of last year, I decorated my “office” in a white golden theme with blush elements. But over the last months, I changed, found my most “me-style” and this room did not suit me anymore. Do you know this feeling when you were outgrowing something? I needed to replace some things in my little oasis to feel calm again.
I always had a thing for cane or “Wiener Geflecht” as we would say here. Since last year, everybody had suddenly cane furniture and I saw it everywhere. They’re so many options out there but the ones I liked the most, were the ones with the highest price point. So I decided to do a DIY project, my second one after one with a IKEA Malm – it was actually also for my office last year. I used back then golden overlays to elevate the look and make it look luxurious.
But back to my cane project here. I was watching and reading all the youtube videos and blogs out there to see where to start and what to expect. Soon it was pretty clear to me in which direction I would go. I was thinking, its easier when there would be already kind of a frame in the front doors, so I could easily cut the middle part out and voilà, I would be basically already done. Of course, it wasn’t so easy in the end. I’m not really a planner and more spontaneous. And I always think, that I will be done in 1, 2 hours and it would be so easy peasy. Its a running joke with my husband – he’s the planner and thinker, he’s able to think things through. I’m more of a “step-thinker” and yes, sometimes I don’t think the things till the end. But hey, its more: learning by doing then, right?
On the IKEA website, I was searching for all the sideboards with framed front doors. They have some pretty nice ones like the BESTA or the MALSJÖ (this would look stunning with cane) but I was going for the SONGESAND with six drawers. I wanted drawers again because it’s the easiest for me to organise all my stuff. It’s similar to the MALM in the size and style, so it would match my office. I would change out the black handles and was planning to buy them locally here in Switzerland. But unfortunately, I couldn’t find golden handles I liked who were reasonably priced and available. So I was searching on Etsy and found some I really loved. And yes, in the end they came from China – so, when you’re reading this article and you have a tip for me to buy them somewhere in Europe, I would be so so happy.
The handles came after 5 or 6 weeks, but I wasn’t anyway able to start my project earlier. But I was able to sell my old MALM sideboard in this time, to ensemble the new sideboard and to put all my things into it. When I finally had time to start, I only had to take the front part away to work on them.
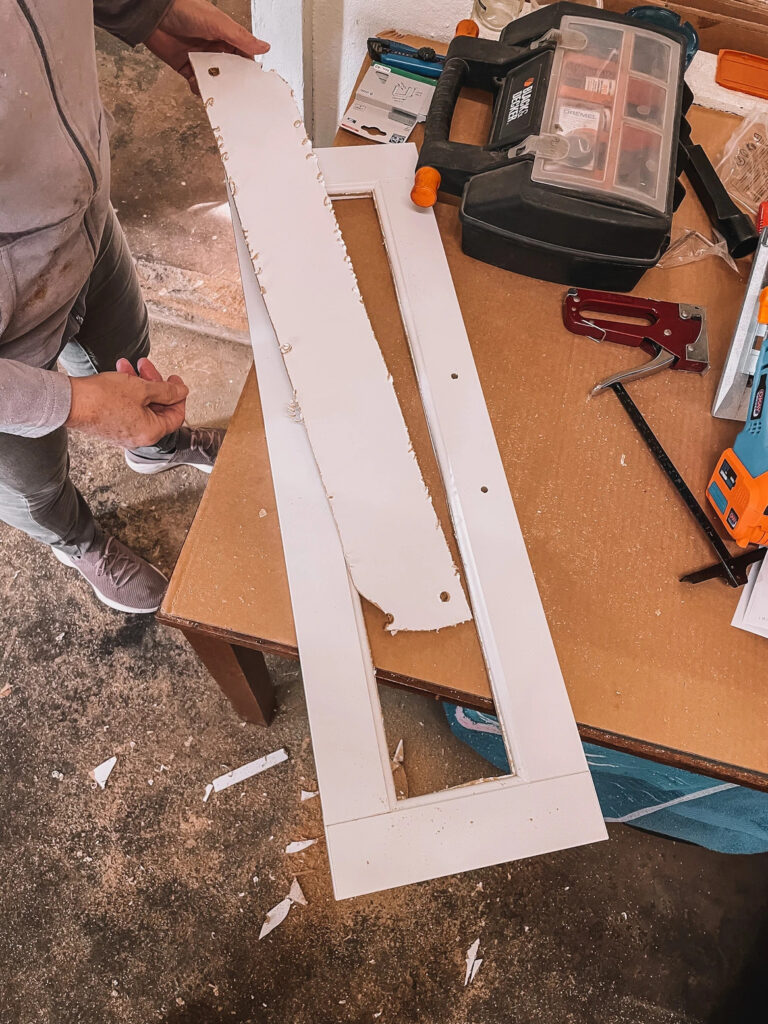
Cut out the inner parts of the frames
You definitely will need a good jigsaw for the front parts. I didn’t use one for the last 20 years but after the first drawer, I found my way with it and cutting the frame out was actually very easy. Start to do four holes in the edges of the frame with a drill. Then use the holes as starting points for the jigsaw, cut from the hole into the edge and then cut a triangle out. So its easier to cut into the other edge and the sides.
My Mom was always concerned that I would cut into the edges and sides, but in the end I almost did it without any accidents. Keep in mind that you have to file the edges down, so its easier when you’re working exactly. You shouldn’t be too close to the edge but almost – otherwise, you would have to file everything down, down, down. When I would do this again, I would go really close to the edge. I didn’t because I didn’t want to destroy the frame. But after using the grinding machine so much for all the six drawers, I was exhausted and the tingling in my hands was following me in my bed and my dreams.
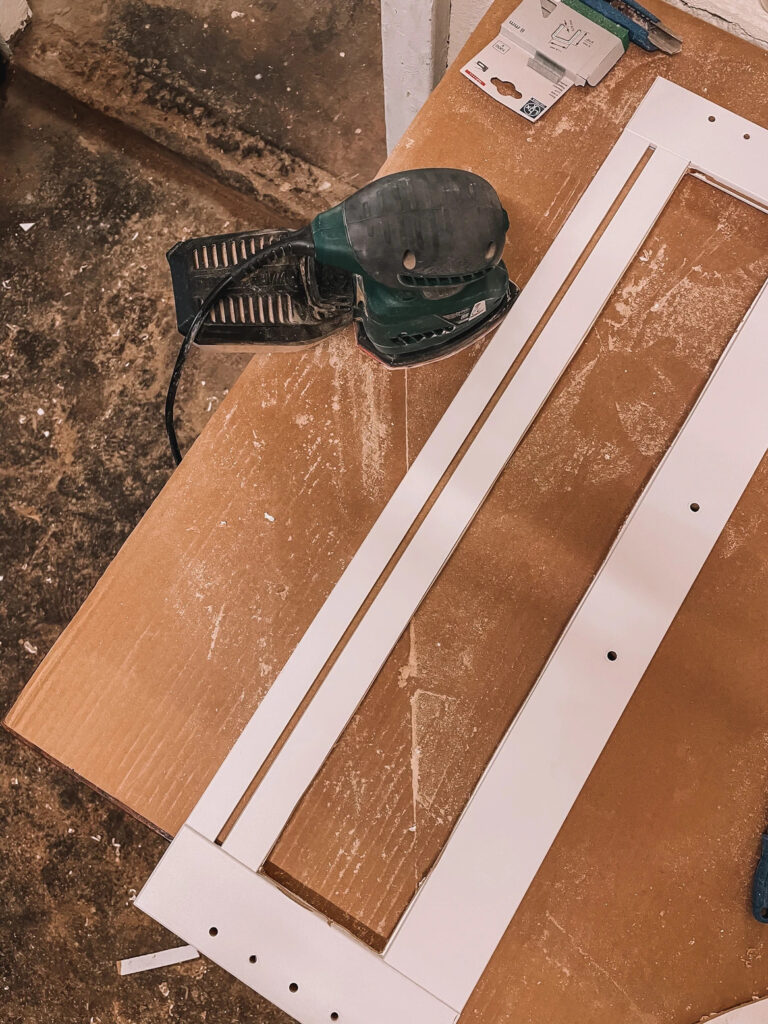

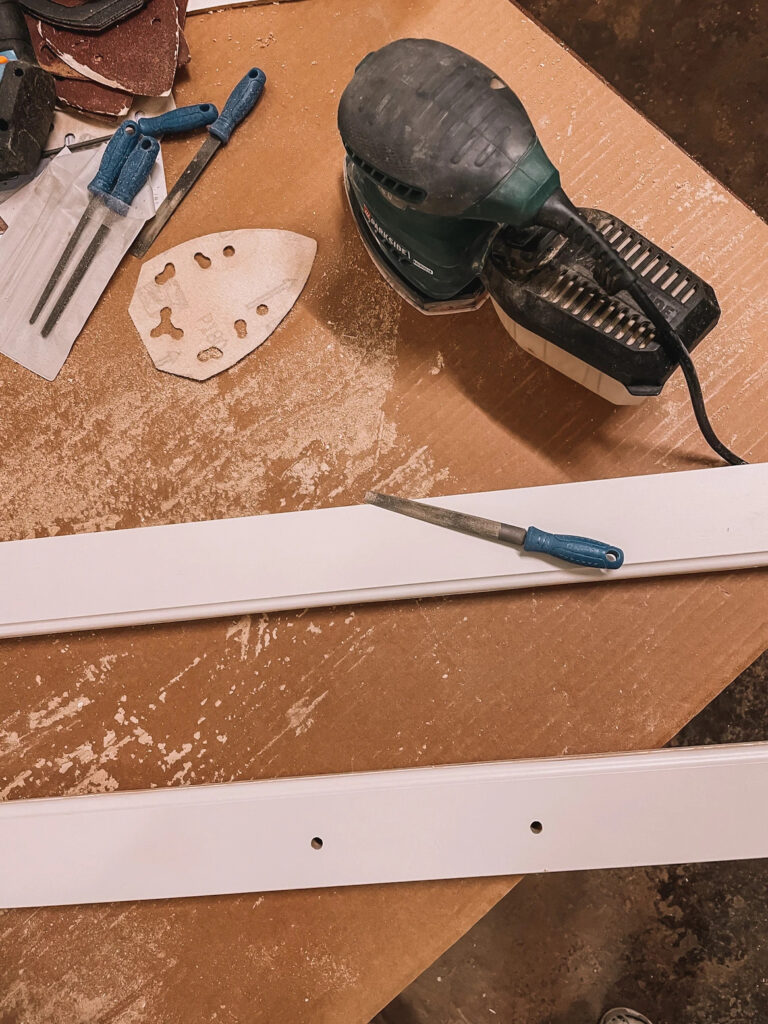
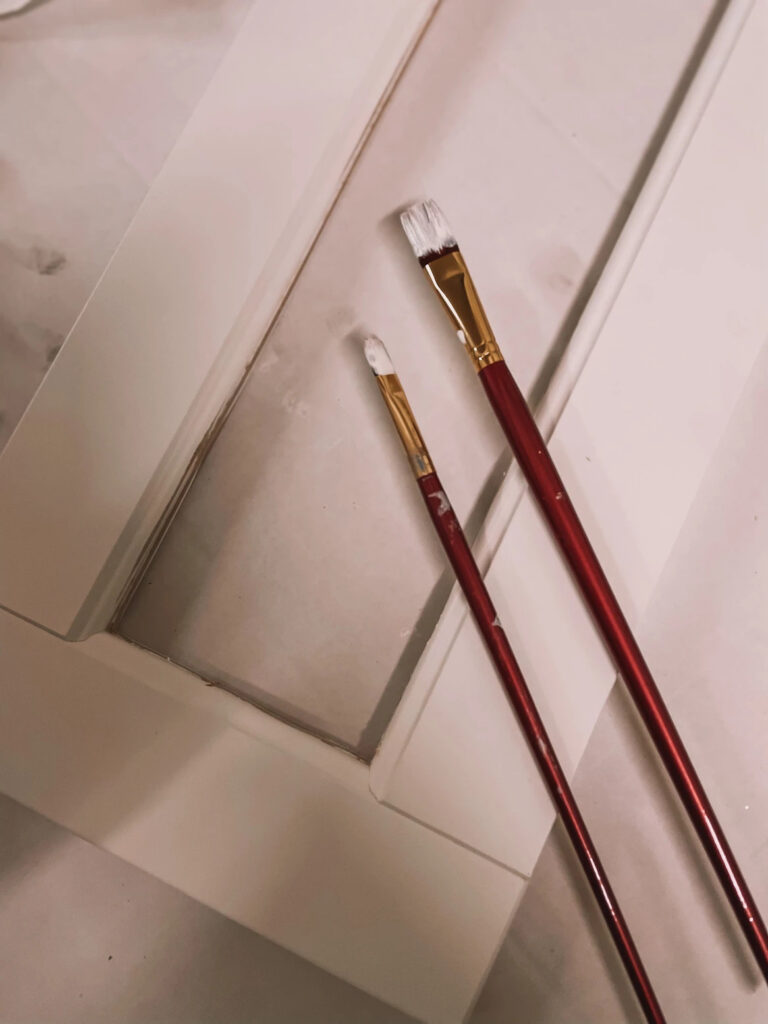
File the frames down
After you cut out all the middle parts and you filed it down, you could use a filler to make the frame sides more smooth. But you can easily skip this step when you’re not a perfectionist and in the end… the furniture doesn’t have to be perfect. The cane is a natural product with slightly differences in the color and with some imperfections, the furniture looks even more hand-made.
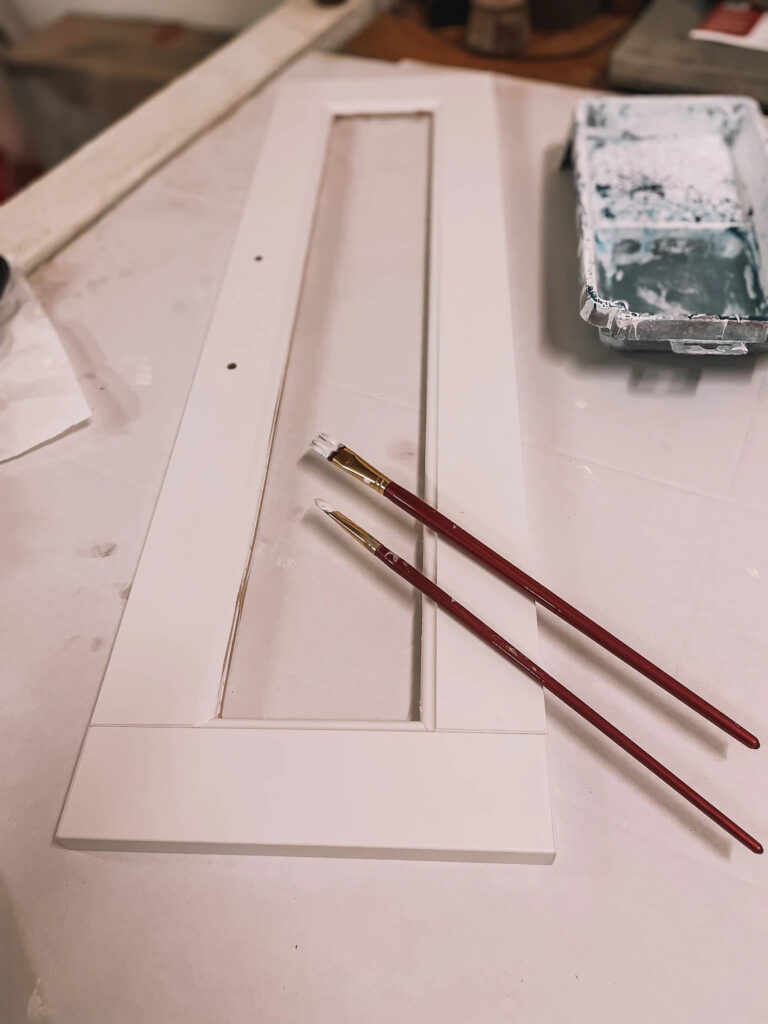
Paint the edges
Then you can already apply the paint. I will not only link the one I used – I bought it local, so it will only be available in Switzerland – there are a lot others who are similar and work well. Thankfully, the paint really matched well with the colour of the sideboard and its almost perfect. Go with a matte finish and with a paint who’s made for furniture.
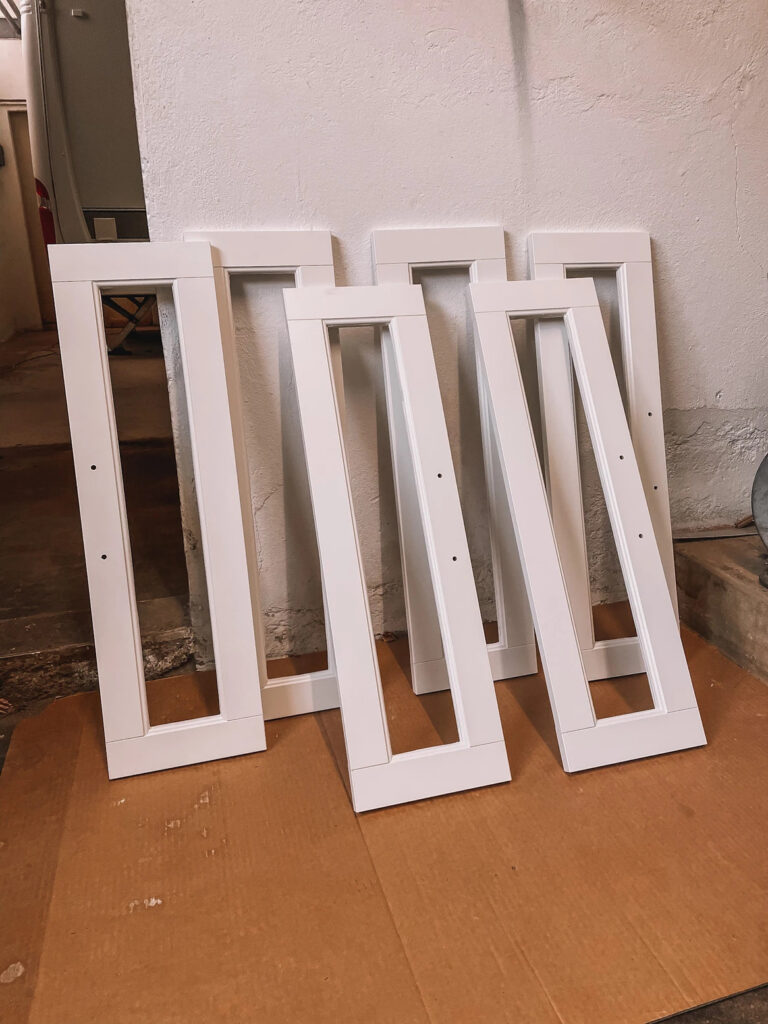
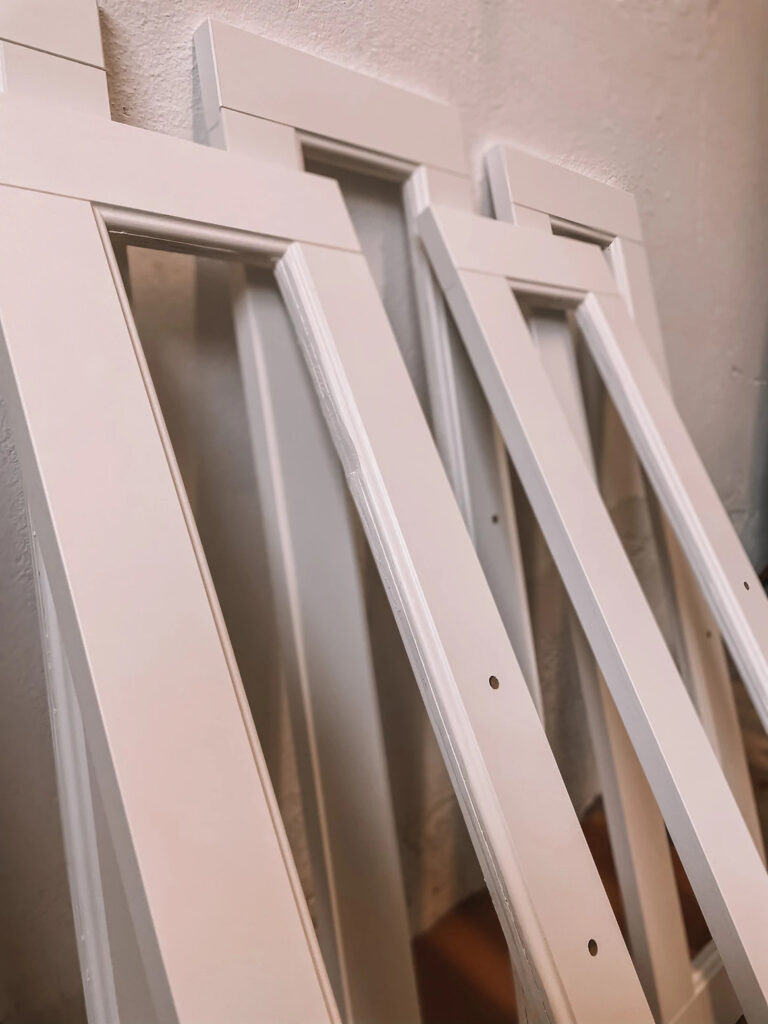
Prepare, cut and staple the cane
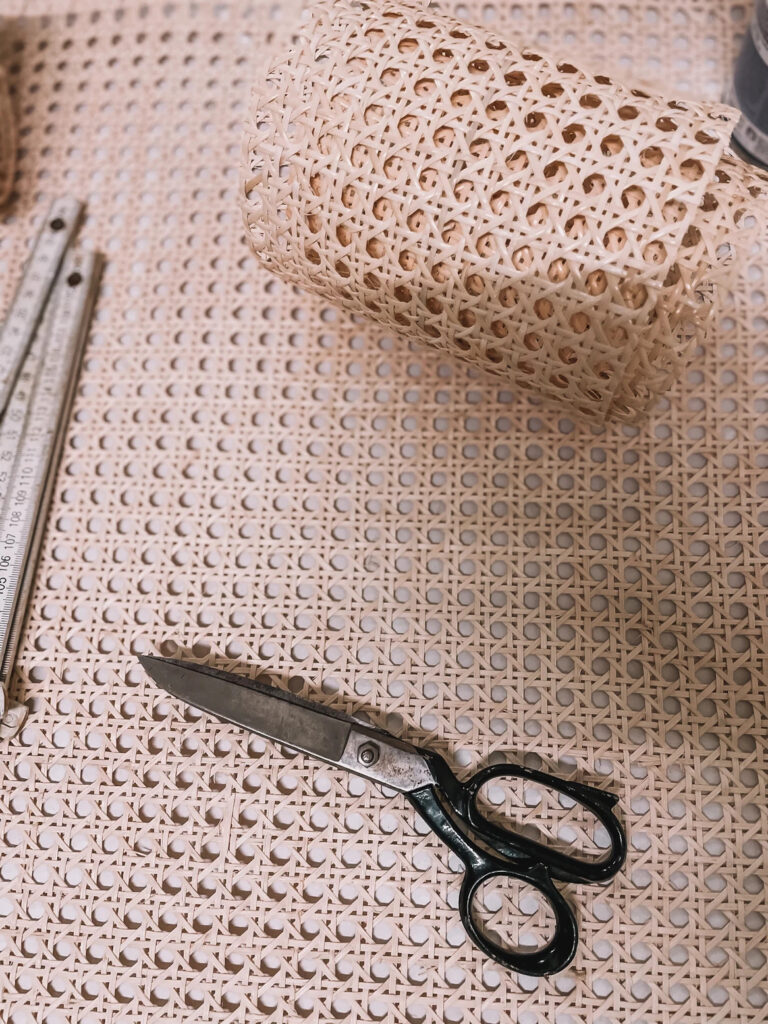
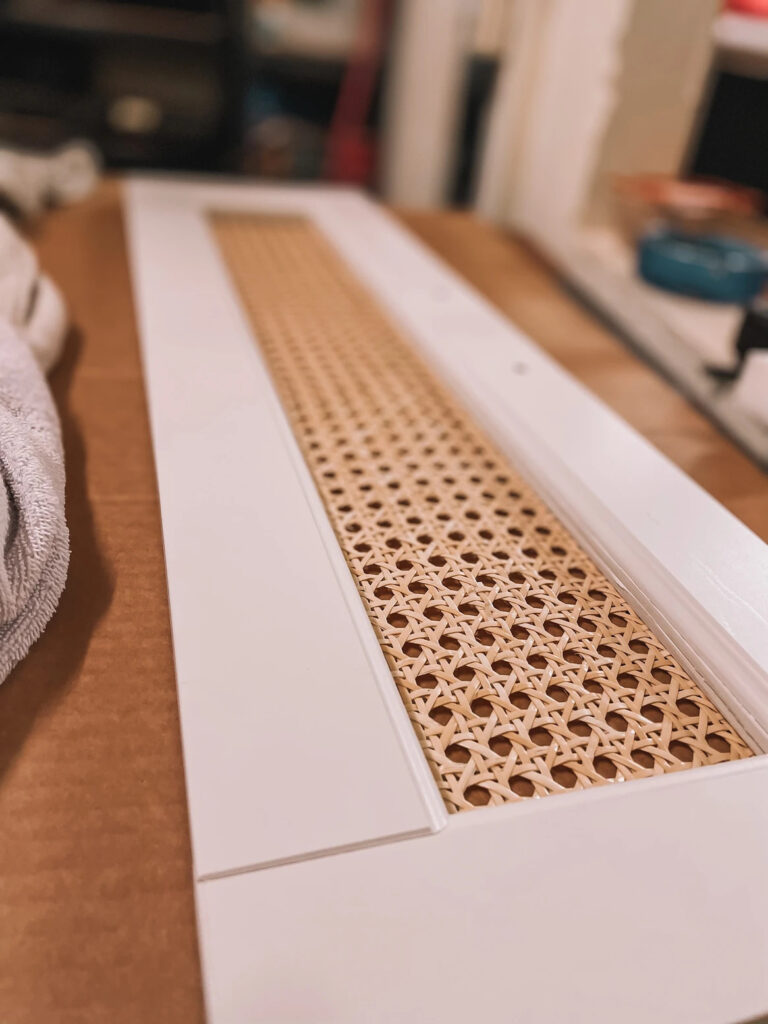
Be patient and let it dry. You can already prepare the next steps like measuring the frames and cutting the cane. I marked the measures with a dark blue pen on the back of the cane. But of course, in the end it was on the front too and I couldn’t wipe it away. So be aware and use a pencil instead of a pen. Give a little extra cane to the sides – you can always cut the excess parts. After you cut out all the six pieces, put them into water to soak for 15 to 30 minutes. The wet cane is much easier to work with.
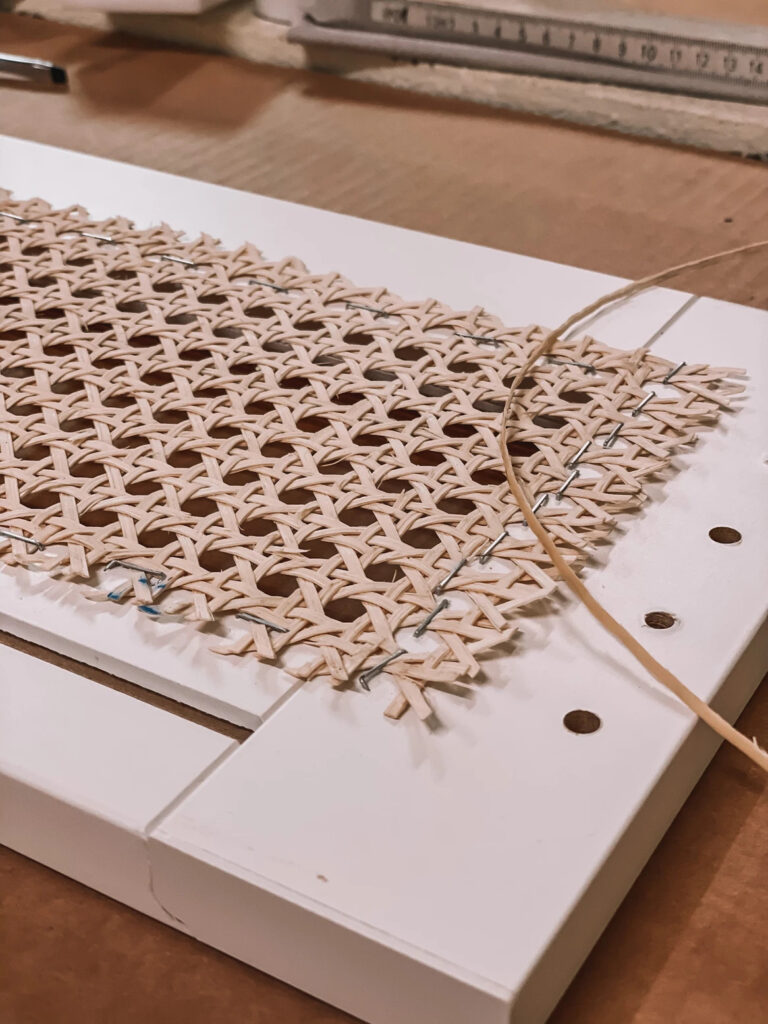
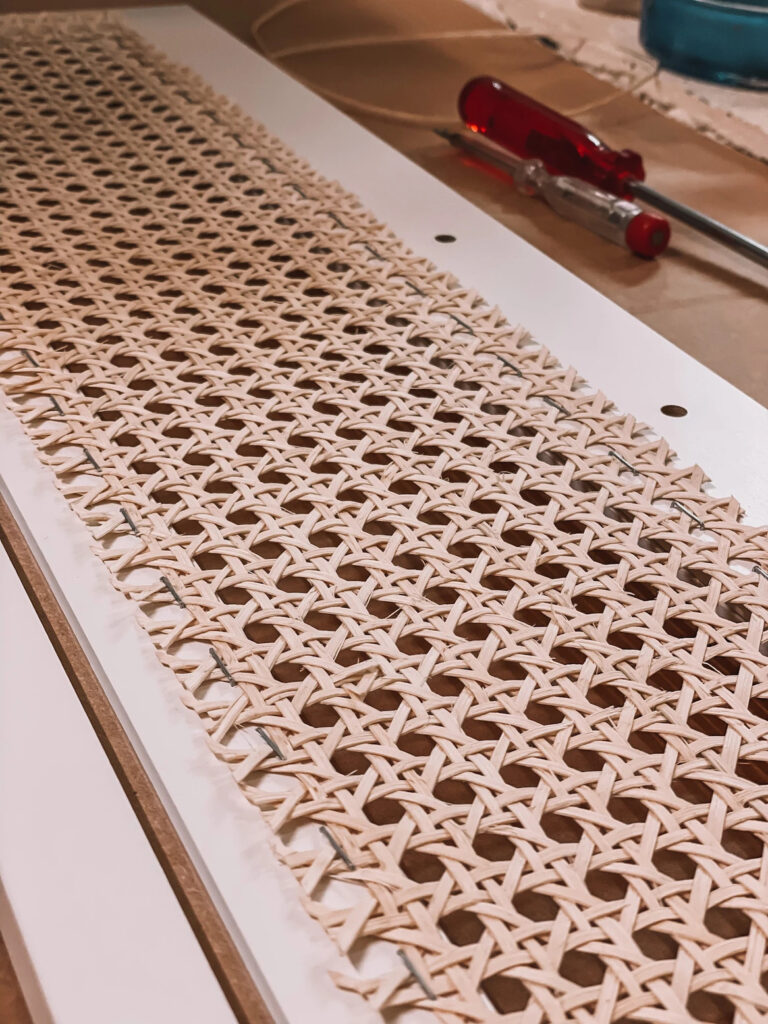
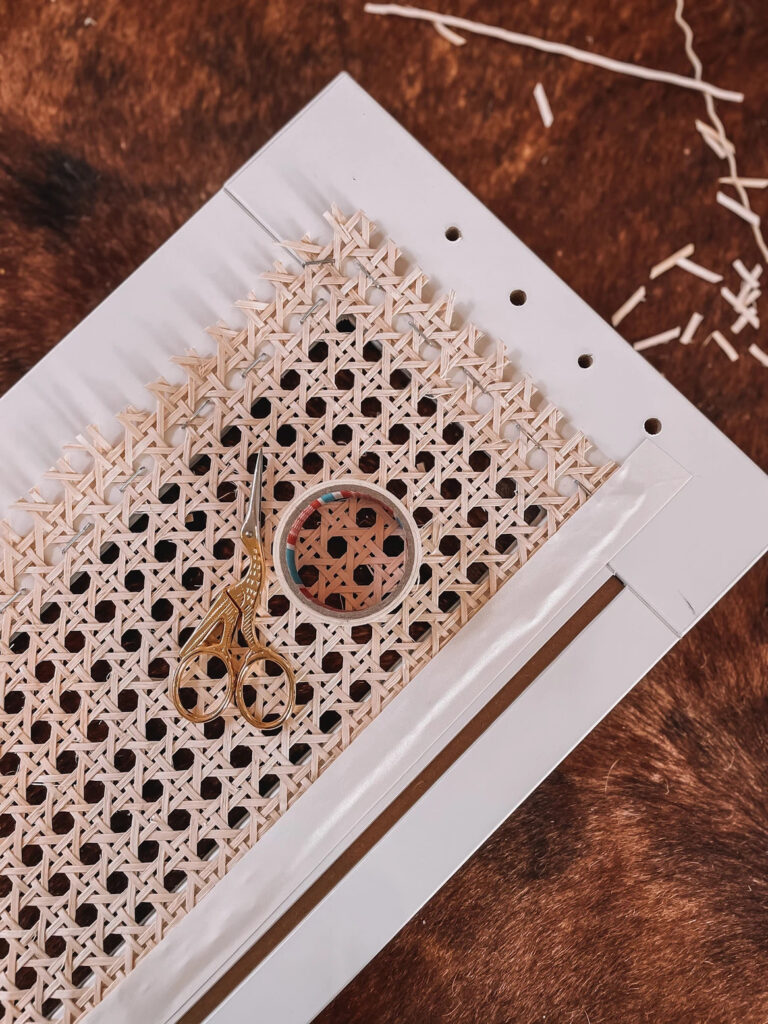
It’s easier when you have some help here. Put the cane with the more shiny side on the frames in the inside and start to fix it. We started here on the left and right side and alternately put the staples in. It’s important that the cane is nicely stretched. The pattern makes it really easy to work here exactly and straight.
After that, you’re almost done. You can cut the excess parts of the cane off and then I used some white fabric tape to put over the cane on the inside. This is not really necessary but I liked the more finished look better when I open the drawers.
Add the new handles
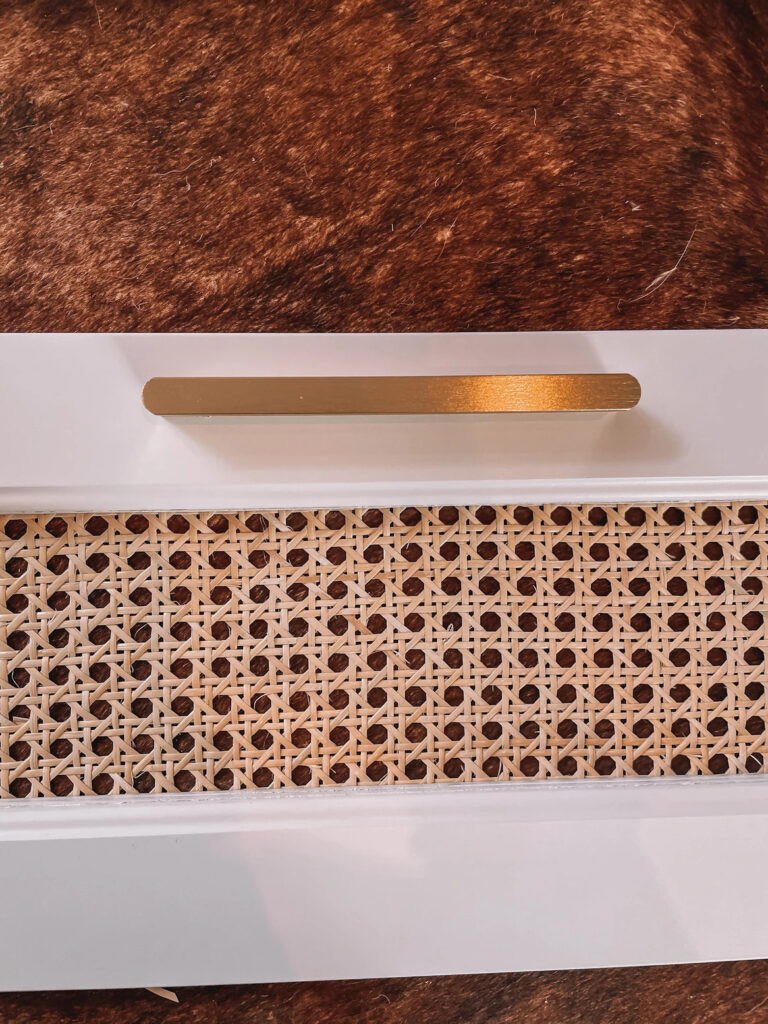
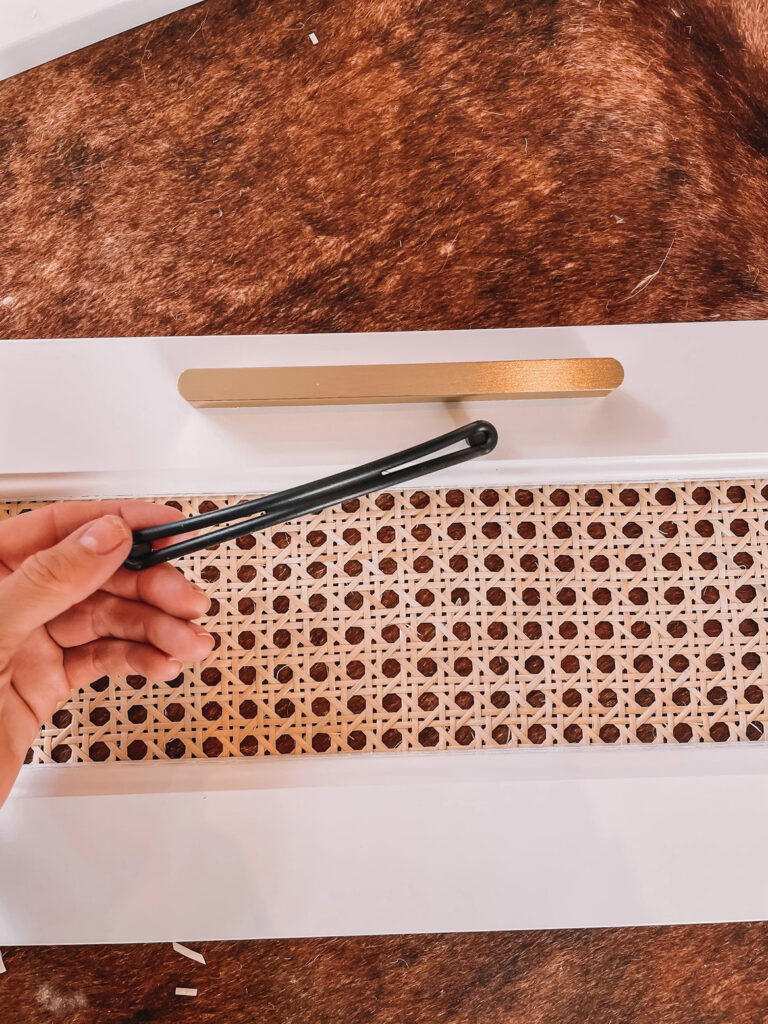
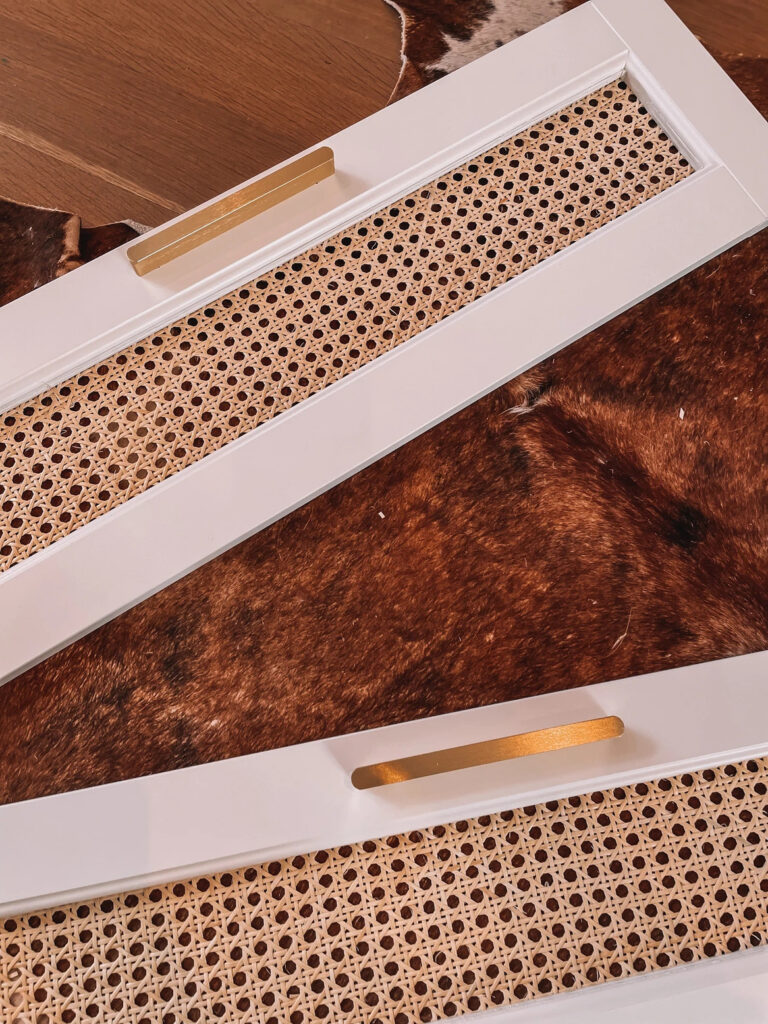
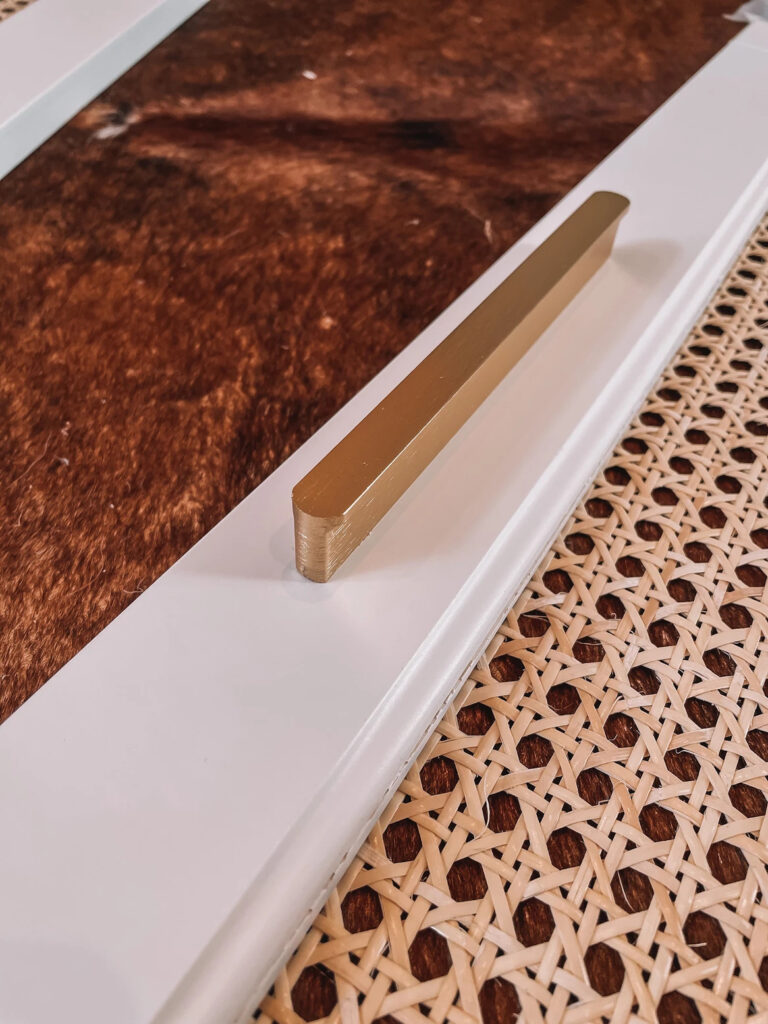
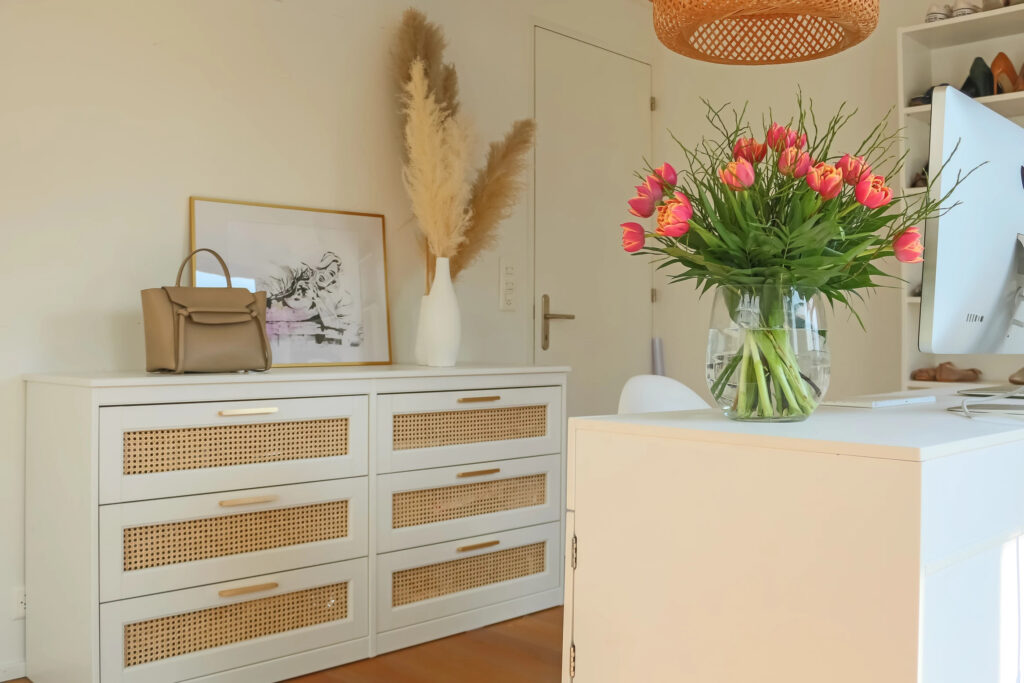
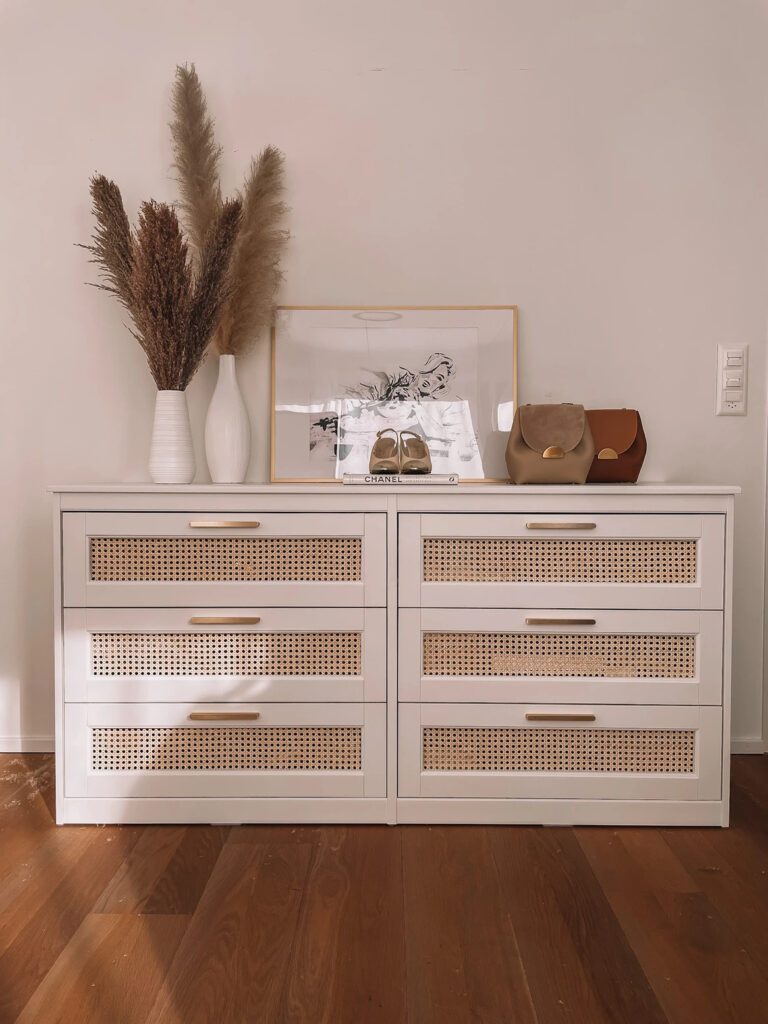
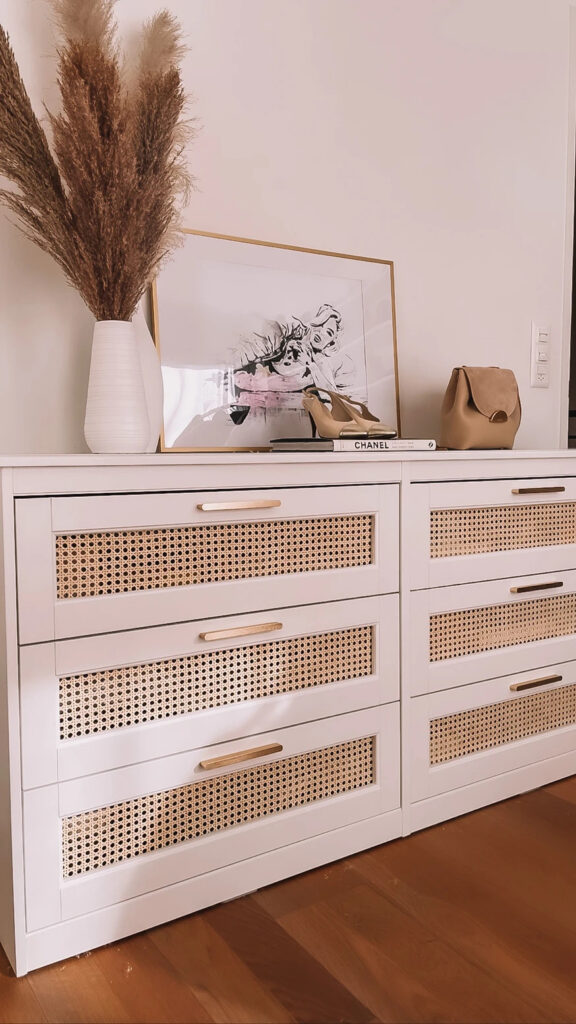
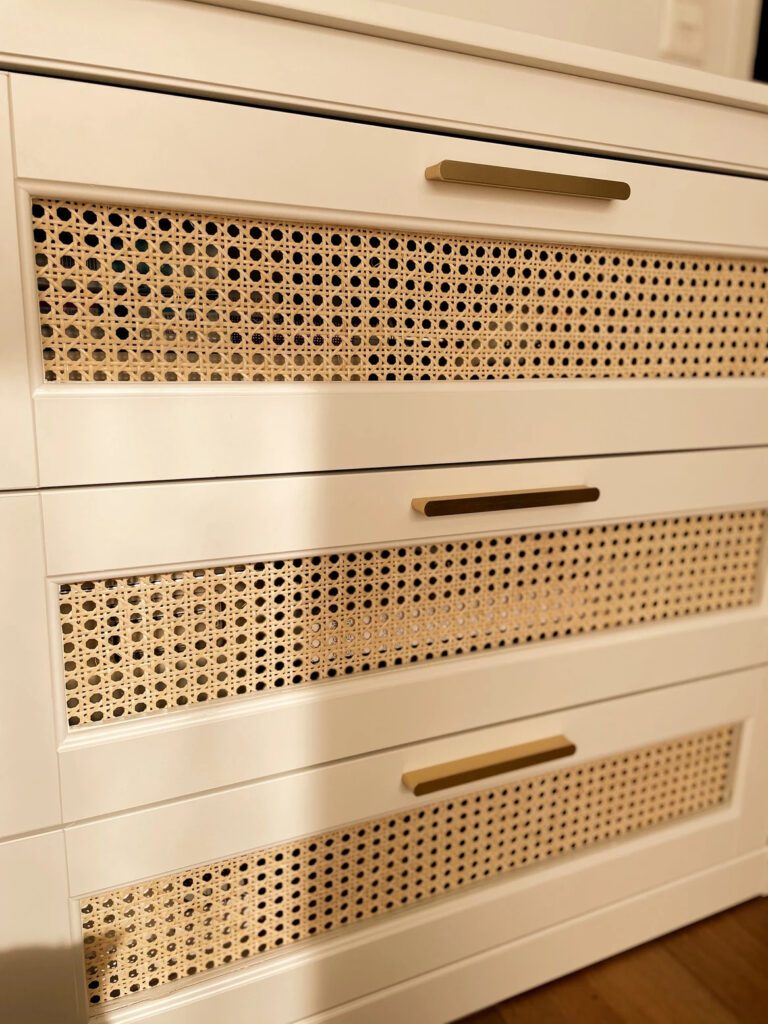
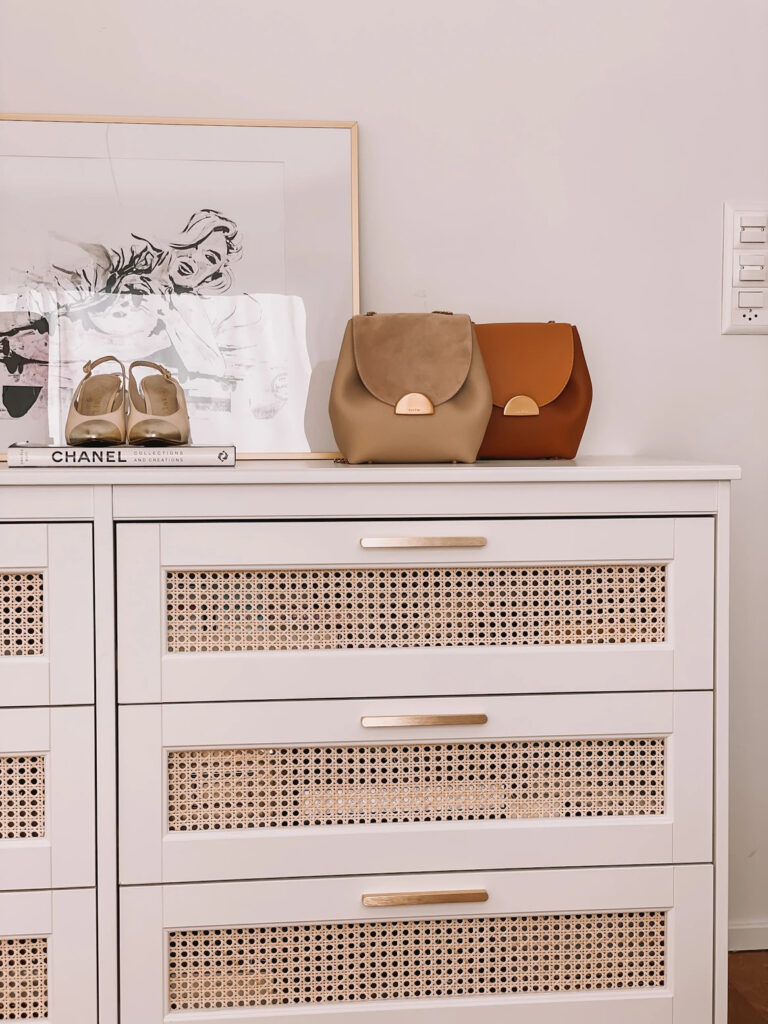
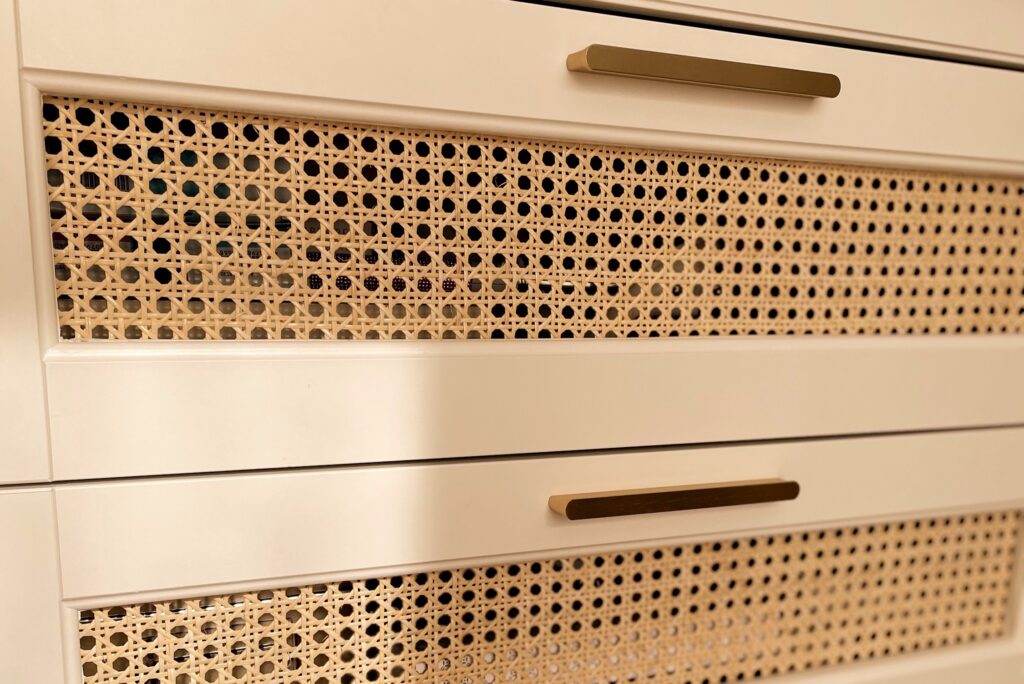
And then: take your new handles and screw them on. Ensemble the front doors back onto the drawers and your new incredibly beautiful cane furniture is ready to shine.
I did some first pictures when the morning sun was shinning into my office and I have to say, I was so so happy with the outcome of this DIY-project. I love it so much!
Your new favourite piece of furniture
Do you have any questions or do you want even more details? I’m here for you and happy to help and inspire you.
With love,
Audrey
*Disclosure: This post may contain affiliate links that at no additional cost to you, I may earn a small commission when you use the provided links here. Thank you so much in advance!
Comments +